
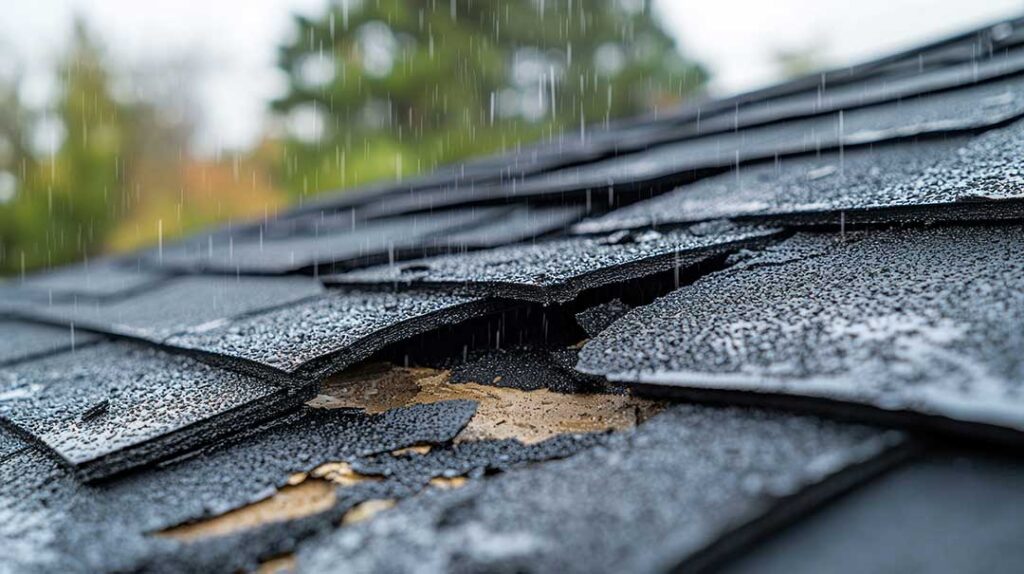
Renovation work can protect, improve, or unintentionally damage a roof. Before removing siding, opening an attic, replacing windows, adding an addition, or installing new mechanical equipment, homeowners should identify how the project may affect roofing materials, flashing, drainage, ventilation, and temporary weather protection.
In Greene, NY, renovation planning should account for rain, snow, freeze-thaw cycles, wind, and sudden changes in weather. A roof that appears sound from the ground can still be vulnerable when workers create openings, move materials across it, or disturb older areas around chimneys, skylights, vents, and wall connections.
Which renovation activities can damage a roof?
Projects that involve roof access, exterior walls, attic spaces, or heavy materials create the greatest risk. Common examples include:
- Adding a second story, dormer, porch, or enclosed entry
- Replacing siding or installing exterior insulation
- Replacing windows near rooflines
- Installing solar equipment, antennas, or mechanical units
- Building an addition that meets an existing roof
- Replacing gutters, fascia, or soffits
- Removing ceilings or opening attic areas
- Moving lumber, ladders, scaffolding, or debris near roof edges
Damage does not always result from a worker stepping on shingles. Materials can be scratched by ladders, punctured by dropped tools, or weakened when flashing is loosened and not properly reset. Cutting into an exterior wall can also expose roofing and wall assemblies to water before the new connection is completed.
How should homeowners inspect the roof before work begins?
A pre-renovation inspection creates a reference point and helps identify weak areas before the project starts. The inspection should cover both visible roofing and nearby components.
Look for:
- Missing, cracked, curled, or loose shingles
- Exposed fasteners or deteriorated sealant
- Damaged metal flashing around chimneys, vents, skylights, and walls
- Sagging roof lines or soft areas
- Blocked or undersized gutters and downspouts
- Moss, heavy debris, or standing water
- Signs of attic moisture, such as stains, damp insulation, mold-like growth, or rusted fasteners
Photographs are useful, especially around roof edges and areas that will be covered by scaffolding or temporary materials. Written notes can distinguish existing conditions from damage that occurs during construction.
A roof should not be used as a work platform simply because it is accessible. Older roofing may be brittle, and hidden deterioration can make walking unsafe. If a condition suggests structural weakness, active leakage, or unsafe access, evaluation by a qualified roofing or building professional is appropriate before renovation continues.
What temporary protection does a roof need during construction?
Temporary protection must shed water without trapping moisture or creating new punctures. A tarp placed loosely over a roof is not a complete weatherproofing system. Wind can lift it, water can collect beneath it, and fastening it through shingles can create additional leak points.
For short-term protection:
- Cover open sections before rain or snow arrives.
- Use properly supported temporary roof coverings rather than loose plastic.
- Direct water away from wall openings, foundations, and pedestrian areas.
- Keep exposed roof decking dry whenever possible.
- Inspect coverings after strong wind, heavy rain, or freeze-thaw conditions.
- Remove temporary materials promptly once permanent work is complete.
Any opening in the roof or exterior wall should be closed at the end of each workday unless a secure, weather-rated enclosure is in place. This includes openings created for dormers, skylights, vents, chimneys, plumbing, and electrical work.
Temporary protection should also allow the assembly to dry. Sealing damp insulation, wet decking, or trapped condensation inside a wall or roof can lead to decay and indoor moisture problems later.
How can ladders, scaffolding, and materials be kept from damaging shingles?
Roofing materials are vulnerable to concentrated pressure. Ladders should not rest directly on shingles unless they are designed and positioned for roof work. Scaffolding, staging, and temporary walkways need stable support and should not bear on gutters, roof edges, skylights, or unsupported overhangs.
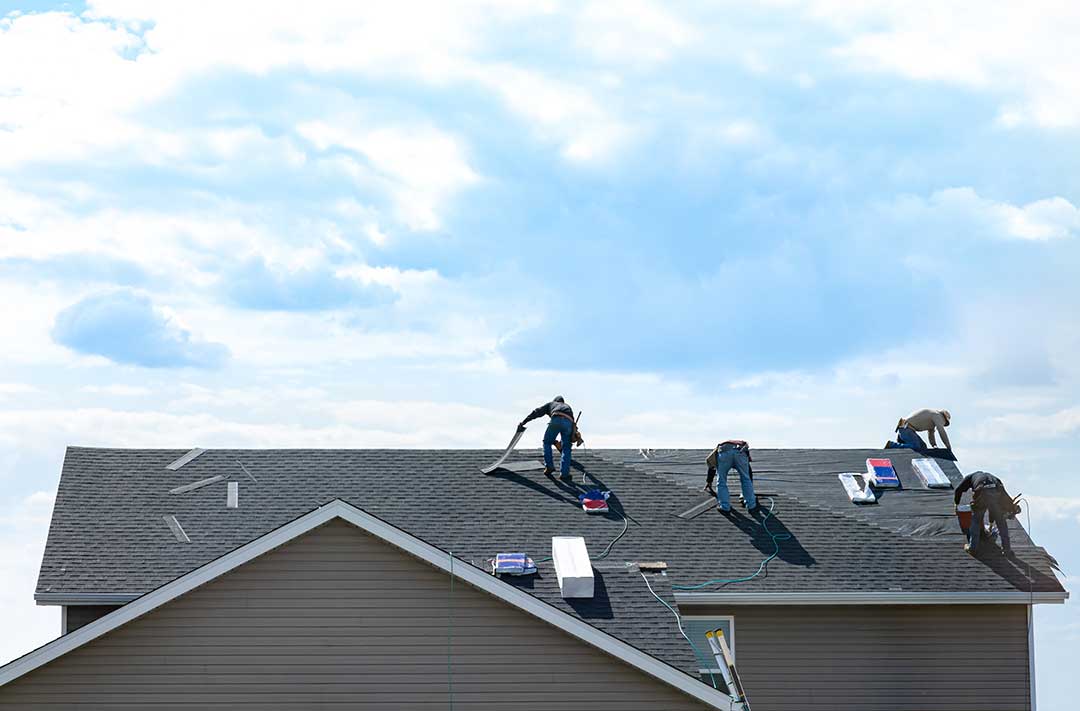
Materials should be stored on the ground or on properly designed platforms whenever possible. Stacks of lumber, roofing products, drywall, or masonry can overload roof framing, especially on older homes or areas with long spans.
Construction debris deserves attention as well. Nails, screws, metal scraps, and broken shingle pieces can enter gutters, puncture membranes, or become hazards around the property. Sweeping or magnetic cleanup should occur regularly rather than waiting until the project is finished.
Workers should avoid dragging tools and materials across the roof. Even minor surface damage can shorten the life of shingles and may not produce a visible leak until later.
How should roof-to-wall connections be protected?
Roof-to-wall intersections are among the most leak-prone areas during additions, siding replacement, and window work. Water can enter behind siding or trim if existing flashing is removed without a clear plan for replacement.
The weather barrier, step flashing, counterflashing, siding, trim, and roofing should be installed in a sequence that allows water to flow outward and downward. New materials should not simply be caulked over old flashing as a substitute for proper integration.
Special care is needed where:
- A new wall meets an existing sloped roof
- Siding is removed near eaves or rake edges
- Windows are installed below roof overhangs
- A porch roof meets the main house
- Exterior insulation changes wall thickness
- Chimneys or masonry walls intersect the roof
A small gap at one of these transitions can allow wind-driven rain behind the exterior surface. In climates with snow and repeated freezing, trapped water may expand and worsen the opening.
What should happen if a renovation uncovers hidden roof damage?
Construction often reveals problems that were not visible during a basic inspection. Examples include rotten roof decking, damaged rafters, missing flashing, wet insulation, insect damage, or evidence of earlier leaks.
The affected area should be documented before it is covered. Do not conceal wet wood or deteriorated decking beneath new roofing, insulation, siding, or drywall. The underlying cause also needs to be addressed; replacing stained materials alone may leave an active leak in place.
If structural members are compromised, work may need to pause until the repair is properly designed. Altering rafters, trusses, bearing walls, or roof supports without understanding the load path can create serious safety risks.
How do seasonal conditions affect renovation planning in Greene?
Cold weather, snow, and changing temperatures can make roof protection more difficult. Roofing materials may become brittle in cold conditions, sealants may not cure as expected, and ice can make roof access dangerous. Snow should not be piled against temporary walls, roof openings, gutters, or entry paths.
Rain is also a concern during spring and summer work. A forecast can change quickly, so exposed areas should be protected before work begins rather than after clouds appear. During autumn, leaves can clog temporary drainage routes and gutters, causing water to back up near roof edges.
Renovation schedules should include time for drying wet materials, checking temporary coverings, and inspecting the roof after severe weather. Rushing to close walls or ceilings can hide moisture that later becomes expensive to correct.
What final roof inspection should occur after renovations?
Before the project is considered complete, inspect the roof from the ground, attic, and accessible exterior areas. Check for damaged shingles, exposed fasteners, displaced flashing, loose trim, punctured membranes, clogged gutters, and debris in drainage paths.
Inside the attic or upper floors, look for new stains, damp insulation, daylight where it should not be visible, or changes in ventilation. After the first substantial rain, inspect vulnerable areas again. Some leaks appear only when wind pushes water sideways or when runoff reaches a newly altered connection.
Keep renovation photographs, permits, material records, and notes about concealed work. This documentation can help explain the roof’s condition later and provides a useful record for future maintenance.
