

Roofing work is more than attaching new shingles. A proper roofing process examines the structure beneath the roof covering, manages water and ice, accounts for seasonal weather, and follows applicable building requirements. Understanding each stage helps property owners recognize quality work, ask useful questions, and identify problems before they become interior damage.
What happens before roofing work begins?
The process starts with an inspection and a clear description of the roof’s condition. A roof may appear worn from the ground while still having sound decking, or it may look acceptable while concealed moisture has weakened the wood below.
An evaluation typically considers:
- The age and condition of the existing roof covering
- Missing, cracked, curled, or lifted shingles
- Soft spots or damaged roof decking
- Flashing around chimneys, vents, walls, skylights, and roof edges
- The condition of valleys, eaves, and ridge areas
- Attic ventilation and signs of condensation
- Water stains, damp insulation, mold-like growth, or daylight visible from the attic
- Gutters, downspouts, and drainage patterns around the building
In Greene, NY, roofs must handle cold winters, snow accumulation, freeze-thaw cycles, wind, and periods of heavy rain. Those conditions make the inspection more than a cosmetic review. The goal is to understand how the whole roof system is performing.
How is it decided whether to repair or replace a roof?
A repair may be appropriate when the damage is limited and the surrounding roof remains in good condition. Examples include a small area of wind-damaged shingles, a failed pipe flashing, or a localized leak caused by deteriorated sealant.
Replacement becomes more reasonable when damage is widespread, the roof covering is near the end of its service life, or repeated repairs no longer address the underlying problem. A roof can also require replacement when the decking, underlayment, flashing, or ventilation system has deteriorated.
A common misconception is that a roof should be replaced only when water is dripping indoors. In reality, moisture may travel along rafters or insulation before appearing on a ceiling. By the time staining is visible inside, damage may already exist above it.
The number of existing roof layers also matters. Adding another layer over an old roof is not automatically suitable. Existing layers can conceal damaged decking, add weight, complicate flashing, and make future repairs more difficult. Some roofing systems may be designed to remain over an existing covering, but that depends on the material, roof condition, code requirements, and manufacturer instructions.
What happens during roof removal?
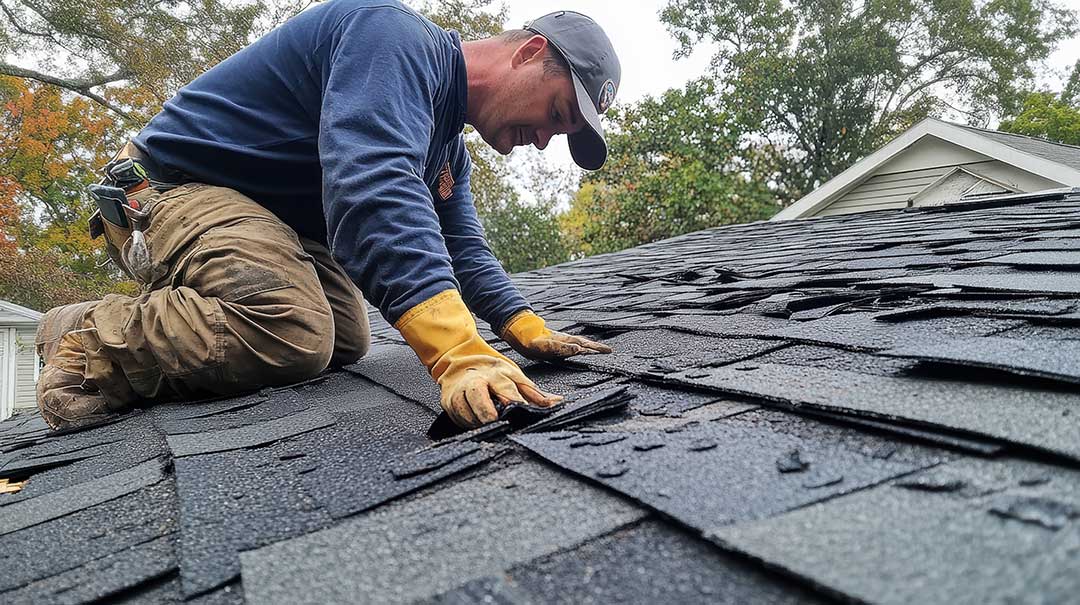
When full replacement is necessary, the old roof covering is generally removed in a controlled sequence. This exposes the underlayment and roof decking for inspection.
Removal work should account for:
- Falling debris and protection of nearby surfaces
- Nails and sharp materials around walkways and landscaping
- Temporary protection if rain is possible
- Safe access to the roof
- Proper handling of damaged or discarded materials
Once the roof is exposed, the decking is checked for rot, delamination, broken panels, or areas that flex under weight. Damaged sections need to be repaired or replaced before new roofing materials are installed. Covering weak decking may hide the problem but does not restore the roof’s structural support.
What are the layers of a roofing system?
A roof is made of several parts that work together. The visible shingles or panels are only the outermost layer.
A typical sloped roof may include:
1. Roof framing: Rafters or trusses provide the basic structural shape.
2. Roof decking: Panels or boards create the surface attached to the framing.
3. Drip edge: Metal edging helps direct water away from the roof edge and fascia.
4. Underlayment: A water-resistant layer provides additional protection beneath the roof covering.
5. Ice barrier: In areas subject to ice formation and water backup at the eaves, an ice-barrier material may be required.
6. Flashing: Metal or formed materials direct water around transitions and penetrations.
7. Roof covering: Shingles, panels, tiles, or another approved material protect the system from weather.
8. Ventilation components: Intake and exhaust openings help manage heat and moisture in the attic.
Each layer has a specific job. For example, shingles are not intended to replace flashing, and attic ventilation cannot correct a roof leak caused by damaged decking.
Why are flashing and roof edges so important?
Many roof leaks begin at transitions rather than in the open field of the roof. Chimneys, plumbing vents, sidewalls, valleys, skylights, and roof-to-wall intersections all require careful water management.
Flashing should be installed so water is directed over, rather than behind, the materials below it. Improperly placed flashing may look acceptable at first but allow water to enter during wind-driven rain or melting snow.
Edges also deserve attention. Drip edge helps control runoff at the eaves and rake edges, while properly installed underlayment and ice-barrier materials help reduce the risk of water entering beneath the roof covering. Gutters must be positioned to collect runoff without allowing water to back up under the roof edge.
How do weather conditions affect the roofing schedule?
Roofing materials and installation methods are affected by temperature, wind, rain, and snow. Some products do not seal or bond properly in very cold conditions. Wet surfaces can create safety hazards and may interfere with underlayment or decking work.
In a winter climate, the roof should also be considered as part of the building’s snow and ice management system. Uneven snow accumulation, blocked drainage, poor attic insulation, and inadequate ventilation can contribute to ice dams. Ice dams form when melting snow refreezes near colder roof edges, potentially forcing water beneath the roof covering.
This does not mean every ice problem is caused by the roof covering itself. Air leakage from the living space, insufficient insulation, blocked soffit vents, and complex roof geometry can all contribute.
Are permits required for roofing work in Greene, NY?
Roof replacement and roof recover work in Greene, NY require roofing permits under local code enforcement requirements. Property owners should verify the permit process before work begins, particularly for full replacement, reroofing over an existing layer, structural repairs, or projects involving changes to the roof shape.
Permitting is not merely paperwork. It helps establish that the work is being performed under applicable building requirements and creates a record of the project. Requirements can differ depending on the type of property and the scope of work, so the local code enforcement office is the appropriate source for current instructions.
How can residents check whether roofing work was completed properly?
After the work is finished, a basic review can identify visible concerns. Look for consistent roof lines, properly seated shingles or panels, intact flashing, secure vent components, and clean transitions around walls and penetrations.
From the attic, check for:
- Daylight entering where it should not
- Damp wood or insulation
- New staining after rainfall
- Blocked ventilation openings
- Condensation on roofing nails or roof decking
Around the building, confirm that debris and loose nails have been removed, gutters remain attached, downspouts discharge away from the foundation, and roof runoff is not being directed toward doors, walkways, or low areas beside the structure.
Roofing is complete only when the roof covering, drainage, ventilation, flashing, and underlying structure work together. A careful process addresses each of those elements rather than focusing only on the material visible from the ground.
