
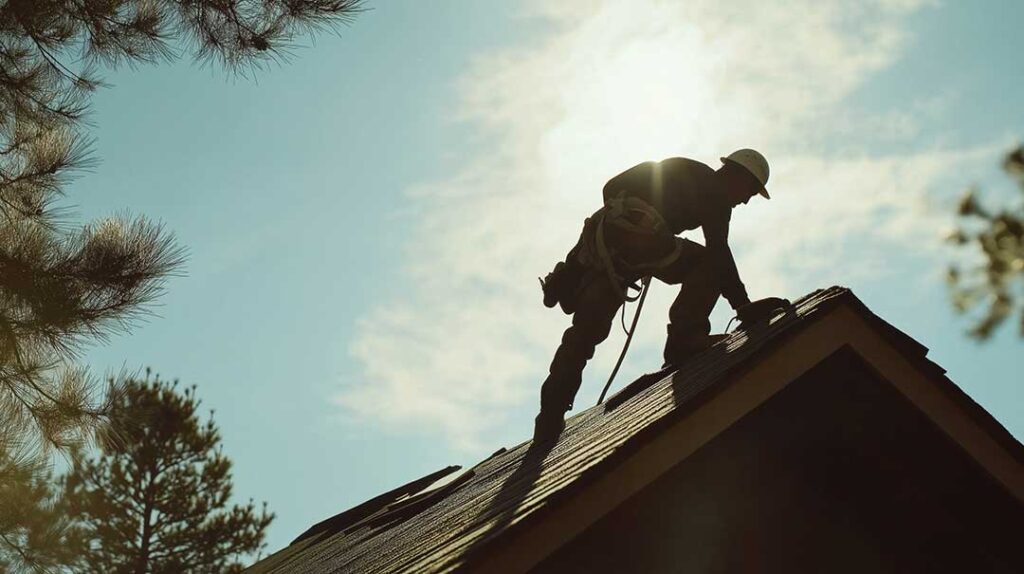
A roof tear-off is the removal of existing roofing materials before a new roof assembly is installed. For homeowners in Greene, NY, the process usually involves more than taking off shingles: it may reveal damaged sheathing, outdated flashing, poor ventilation, or moisture problems that were hidden beneath the surface.
Understanding the sequence can make the work less disruptive and help residents recognize which findings are routine and which require a change in scope.
What happens before the tear-off begins?
Before materials are removed, the work area is prepared and the roof is inspected from the exterior and, when accessible, from the attic. This preliminary review helps identify roof slopes, penetrations, valleys, chimneys, skylights, gutters, and areas with visible sagging or staining.
The property is also prepared for falling debris. Common protections include:
- Ground tarps or protective coverings
- Protection for shrubs, porches, siding, and nearby surfaces
- Temporary covering for doors or other vulnerable openings
- A designated area for discarded roofing materials
- Planning for driveway, walkway, and vehicle access
Residents should expect noise, vibration, and activity around the house. Removing shingles creates repeated impact sounds, while scraping and nailing can transmit vibration through the roof framing. Outdoor furniture, planters, decorations, and other loose items near the walls may need to be moved.
How are roofing materials removed?
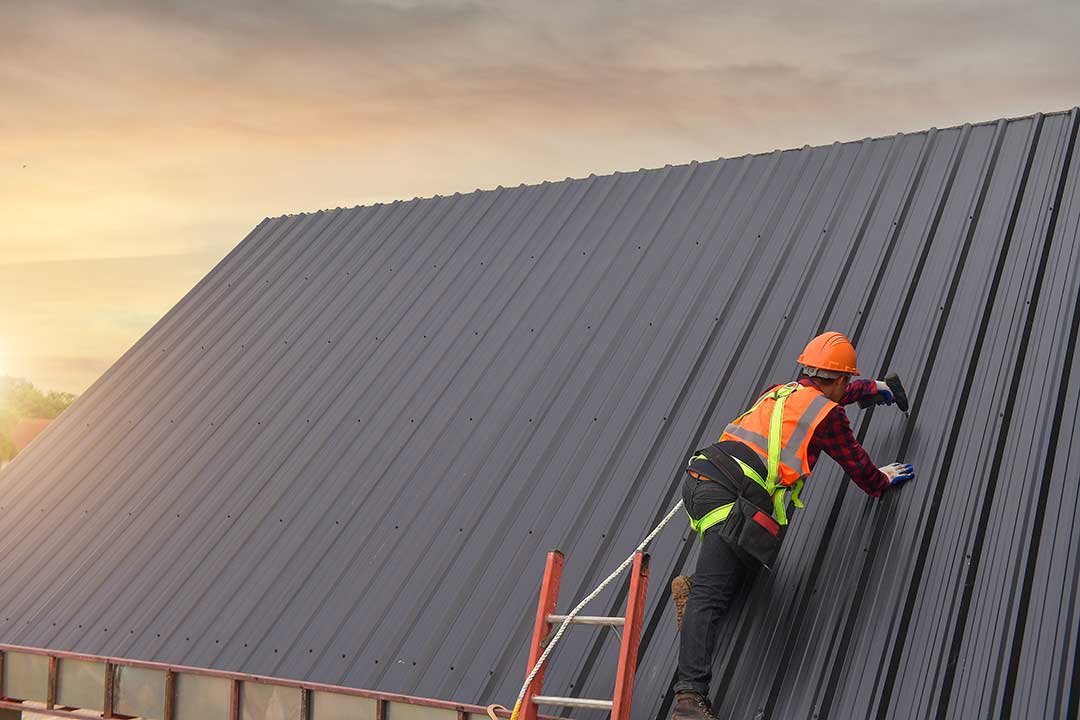
A typical tear-off starts at the upper layers of the roof. Shingles, underlayment, ridge materials, and damaged flashing are loosened with roofing tools and moved down the roof in controlled sections. Materials may be carried to a ground-level container or lowered using equipment designed for debris handling.
The exposed roof deck is then swept and inspected. The deck is usually made of plywood or oriented strand board, although older homes may contain different materials. A roof cannot be properly rebuilt over weak, rotten, or badly warped decking.
The work often proceeds one section at a time rather than exposing the entire roof immediately. This reduces the risk of rain entering the home, which is especially useful when weather changes quickly during spring and fall.
Why can the project change after the old roof is removed?
The condition of the roof deck cannot always be determined from the outside. Shingles may conceal soft wood caused by long-term leaks, ice-related water intrusion, failed flashing, or poor ventilation.
Common concealed issues include:
- Soft or deteriorated roof sheathing
- Rusted or improperly installed flashing
- Water damage around chimneys, vents, or skylights
- Missing or blocked ventilation openings
- Sagging caused by structural movement
- Multiple old roofing layers
- Improper repairs from earlier work
Small areas of damaged decking may be replaced as part of the normal process. More extensive deterioration can affect the schedule, material quantities, and final cost. It is reasonable for a homeowner to ask for photographs or a clear explanation of any concealed condition discovered during the tear-off.
A tear-off is not automatically evidence that the previous roof was installed incorrectly. Roofs can develop hidden damage over time even when the surface appears relatively intact.
What is installed after the deck is inspected?
Once the roof deck is considered sound, the replacement assembly is installed in layers. The exact materials vary according to the roof design, code requirements, and selected roofing system, but the sequence generally includes:
1. Roof-deck repairs where needed
2. Drip-edge metal along appropriate roof edges
3. Underlayment over the deck
4. Ice-barrier protection in areas required by code or roof design
5. Flashing around walls, chimneys, valleys, and penetrations
6. New roof covering such as asphalt shingles or another approved material
7. Ridge, soffit, or other ventilation components where applicable
The purpose of underlayment and ice-barrier material is not to replace the roof covering. These layers provide secondary protection against wind-driven rain and, in vulnerable areas, water that can move beneath roofing materials.
Snow, freeze-thaw cycles, and ice buildup make careful edge and flashing details particularly relevant in the region. Roof valleys, eaves, and areas where one roof plane meets a wall deserve close attention because water and melting snow can concentrate there.
How long does a roof tear-off take?
A straightforward roof replacement may be completed in a day or several days, but the tear-off itself does not have a fixed duration. Roof size, pitch, number of layers, access, decking repairs, weather, and debris-handling logistics all affect the schedule.
A simple roof with good access may move quickly. A steep roof, complex roofline, older structure, or roof with several layers can take longer. Rain, strong wind, frost, and wet roof surfaces may also pause work for safety and water-protection reasons.
A short delay is not necessarily a sign of a problem. Roofing materials need to be handled and installed under suitable conditions, and an exposed roof must be protected before workers leave the site.
What should residents expect inside the house?
Most tear-offs are completed from the exterior, but occupants may notice vibration, dust near attic access points, or small bits of debris in areas that were not fully sealed. Attic insulation may shift slightly around roof penetrations, especially if repairs are made near vents or chimneys.
Before work begins, residents can reduce inconvenience by:
- Covering or moving fragile items stored in the attic
- Removing wall decorations that could vibrate loose
- Closing windows during active removal
- Keeping children and pets away from the work area
- Planning for limited access around the house
- Protecting vehicles from falling debris and dust
Ceiling stains or interior leaks should be reported promptly if they appear during or after the work. A roof tear-off can expose a previously hidden water pathway, but it should not leave the interior unprotected after the crew leaves for the day.
Are permits or inspections required?
Roof replacement requirements depend on the type of building, the extent of the work, and the authority responsible for permits in the area. New York State building codes address reroofing and related alterations, while local enforcement procedures determine whether a permit or inspection applies to a particular project.
Homeowners should verify local requirements before work begins, especially when the project involves structural repairs, changes to roof design, insulation, ventilation, or a building with unusual occupancy. Code requirements may also change over time, so older roofing practices are not always a reliable guide to current work.
What does a clean-up inspection involve?
A proper final clean-up is more than removing the visible pile of shingles. The surrounding grounds should be checked for loose nails, sharp metal, fragments of underlayment, and small pieces of roofing material.
A useful homeowner walk-through includes:
- Looking around walkways, driveways, gardens, and lawn edges
- Checking that gutters and downspouts are not blocked
- Confirming that vents, flashing, and roof edges appear complete
- Looking for exposed fasteners or loose materials
- Checking attic and upper-floor areas for signs of water entry after the first rainfall
Magnetic sweepers can collect many roofing nails, but no clean-up method is perfect. Extra attention is worthwhile around play areas, pet paths, tire tracks, and frequently used entrances.
A roof tear-off is disruptive because it temporarily removes the layers that protect the house. The most important parts of the process are controlled removal, careful inspection of the exposed deck, weather protection, proper flashing, and thorough clean-up. For area households, understanding those steps makes it easier to distinguish normal construction activity from conditions that deserve clarification.
