
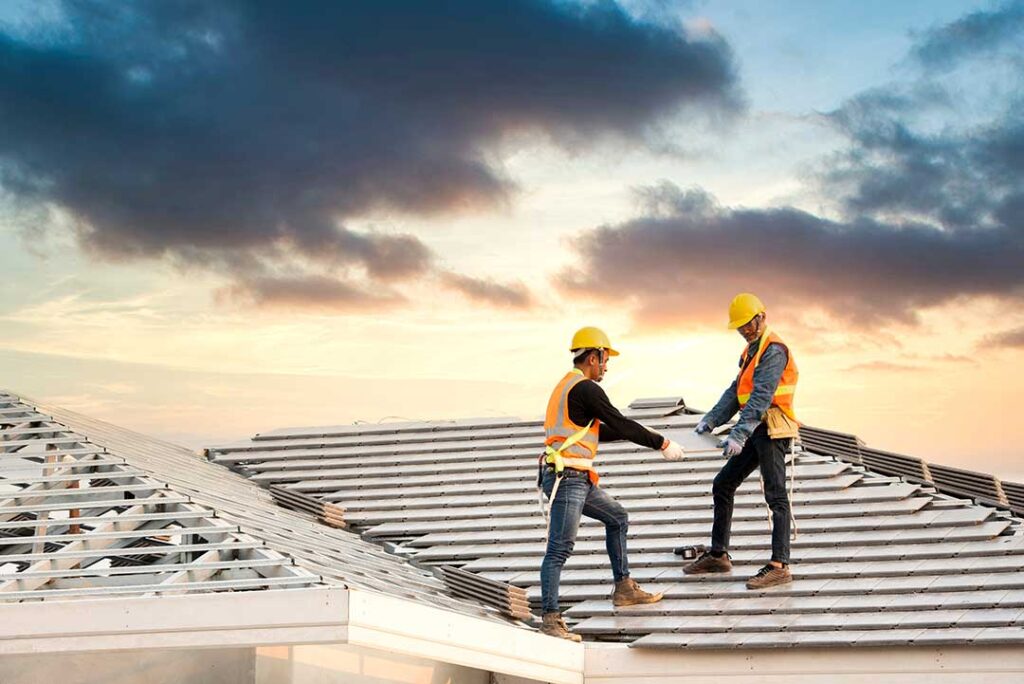
Roofing work follows a series of decisions and inspections rather than a single installation step. Whether a roof needs a small repair, partial replacement, or complete tear-off, the process usually begins with an evaluation, continues through planning and material removal, and ends with ventilation, flashing, and cleanup checks.
For residents of Greene, NY, seasonal weather is a major part of that process. Snow, ice, freeze-thaw cycles, wind, heavy rain, and summer heat can all affect how roofing materials perform and how work should be scheduled.
How does the roofing process begin?
The process begins with an inspection of the roof system, not just the shingles. A proper evaluation considers the roof covering, underlayment, flashing, drainage, ventilation, and the condition of the roof deck beneath the visible materials.
The inspection may look for:
- Missing, cracked, curled, or loose shingles
- Granules collecting in gutters or near downspouts
- Rusted or damaged metal flashing
- Soft areas in the roof deck
- Water stains in attics or upper-floor ceilings
- Sagging roof lines
- Blocked or inadequate ventilation
- Moss, algae, or organic growth holding moisture against the roof
A roof can appear acceptable from the ground while still having hidden deterioration. Attic moisture, for example, may be caused by poor ventilation rather than a direct leak. Likewise, a ceiling stain may remain visible long after the original leak has stopped.
How is it decided whether to repair or replace a roof?
A repair is generally considered when the damage is limited, the surrounding roofing is still in reasonable condition, and the cause can be corrected without disturbing a large portion of the roof.
Replacement becomes more likely when the roof has widespread wear, repeated leaks, extensive deck damage, or materials that are near the end of their expected service life. The decision also depends on how well the existing roof was installed and whether earlier repairs have created layered or concealed problems.
Common repair situations include:
- A small area of wind damage
- A damaged plumbing or exhaust flashing
- A localized leak around a roof penetration
- A few missing shingles
- Minor damage near a valley or roof edge
A replacement is not always required simply because a roof is older. Age is one factor among several. The roof’s current condition, history of repairs, attic moisture, and exposure to weather provide a more useful picture.
What happens during the planning stage?
Planning determines the scope of work before materials are removed. This includes measuring roof sections, identifying slopes and penetrations, reviewing drainage patterns, and selecting compatible materials.
The roof design matters. Valleys, dormers, skylights, chimneys, low-slope sections, and areas where different roof planes meet require additional detailing. These locations are more vulnerable because water changes direction or moves more slowly there.
Planning should also account for:
- Access to the roof and surrounding property
- Protection for landscaping, siding, windows, and outdoor equipment
- Weather conditions and temperature
- Delivery and storage of materials
- Disposal of old roofing
- Local permit or inspection requirements, when applicable
- Ventilation and insulation conditions in the attic
For homes in the community, winter work may be limited by snow, ice, cold temperatures, and shorter daylight hours. Roofing materials can also behave differently in cold weather, so timing and installation methods matter.
What happens when the old roofing is removed?
During a full replacement, the existing roofing is usually removed in sections so the roof deck can be examined. The deck is the structural surface beneath the underlayment and shingles. It may consist of boards, plywood, or another approved structural panel.
Removal can reveal:
- Rot from long-term moisture exposure
- Cracked or split decking
- Loose fasteners
- Previous layers of roofing
- Improperly sealed roof penetrations
- Areas damaged by ice dams or repeated leaks
Damaged decking should not simply be covered. The roof covering depends on a sound, properly attached surface. If weak areas remain underneath, shingles may not lie flat, fasteners may not hold correctly, and future leaks can become more likely.
Old roofing materials are then collected and disposed of according to applicable waste-handling requirements. Nails and sharp debris should be controlled throughout this stage because they can create hazards around walkways, driveways, and lawns.
How are the underlayment and flashing installed?
After the roof deck is prepared, the underlayment is installed as a secondary water-shedding layer beneath the roof covering. It helps protect the deck if wind-driven rain reaches beneath shingles or if snow and ice create temporary backup conditions.
Flashing protects the areas where roofing meets another surface or where water is concentrated. It may be used around:
- Chimneys
- Plumbing vents
- Skylights
- Sidewalls and vertical walls
- Valleys
- Eaves and roof edges
- Dormers and other projections
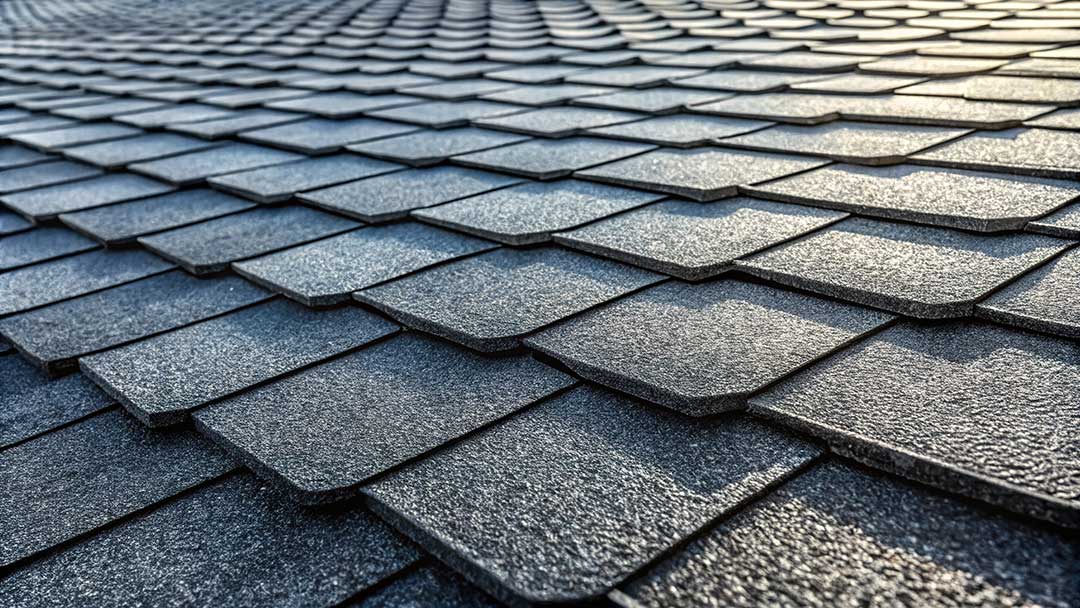
Flashing is not decorative trim. Its purpose is to direct water away from vulnerable joints. Many recurring leaks are related to flashing that is missing, corroded, poorly overlapped, or sealed with a material that has deteriorated.
Ice-barrier protection may also be used in areas vulnerable to ice buildup, depending on roof design and applicable requirements. In a cold-weather climate, roof edges and valleys deserve particular attention because melting snow can refreeze and force water beneath the roof covering.
How are shingles or other roof coverings installed?
The visible roof covering is installed according to the material type, roof slope, exposure, and manufacturer requirements. Asphalt shingles are common, but roofs may also use metal, rubber, slate, or other systems.
Installation generally proceeds from the lower roof edge upward. Courses must be aligned, fastened correctly, and integrated with valleys, flashing, vents, and ridges. Fasteners that are misplaced, too few, or driven too deeply can weaken the installation.
The roof edge also needs careful treatment. Drip-edge metal helps guide water into the gutter system and protects exposed deck edges. At the top of the roof, ridge materials and ventilation components must be installed so the system sheds water while allowing appropriate air movement.
A new roof should not be judged only by how straight the shingles look. Details at edges, valleys, penetrations, and transitions often have a greater effect on long-term performance.
Why do ventilation and insulation matter?
Roof ventilation helps manage heat and moisture in the attic. It does not replace insulation, and adding vents without considering the complete airflow pattern may not solve an attic moisture problem.
A balanced system typically allows air to enter near the lower roof edges and leave near the upper roof area. Blocked soffit vents, poorly placed exhaust vents, or gaps in insulation can interfere with that movement.
Good attic performance can help reduce:
- Condensation on roof framing and fasteners
- Moisture-related wood deterioration
- Uneven roof temperatures
- Premature aging of roofing materials
- Winter ice buildup caused by heat escaping into the attic
Ventilation problems may not be visible from outside. An attic inspection can help determine whether stains, frost, damp insulation, or musty odors are connected to roof performance.
What should be checked after the work is finished?
The final stage includes more than removing loose scraps. The completed roof should be reviewed for secure materials, properly installed flashing, clear drainage paths, sealed penetrations, and adequate ventilation.
A useful final check includes:
- Inspecting valleys and roof edges
- Confirming that vents and flashing are not obstructed
- Checking gutters and downspouts for roofing debris
- Looking for exposed or improperly placed fasteners
- Examining attic areas for daylight, moisture, or damaged insulation
- Walking the surrounding property for nails and scraps
- Confirming that temporary coverings or protective materials have been removed
After significant weather, residents may notice new leaks, loose materials, or overflowing gutters. A quick visual inspection from the ground can identify warning signs, but climbing onto a wet, icy, or steep roof creates unnecessary risk.
What are common misunderstandings about roofing?
A roof leak does not always appear directly below the point where water entered. Water can travel along decking, rafters, insulation, or framing before becoming visible indoors.
Another misconception is that a few new shingles solve every leak. If the underlying flashing, deck, or ventilation problem remains, the repair may not last.
It is also easy to assume that gutters are separate from roofing. In practice, roof edges, drip edge, fascia, and gutters work together to control runoff. Blocked gutters can contribute to overflow, wet siding, and water near the foundation.
The most reliable roofing process treats the roof as a complete system: structure, underlayment, flashing, covering, ventilation, and drainage. That approach is especially useful in Greene, NY, where repeated seasonal changes place stress on materials and expose weak details over time.
