
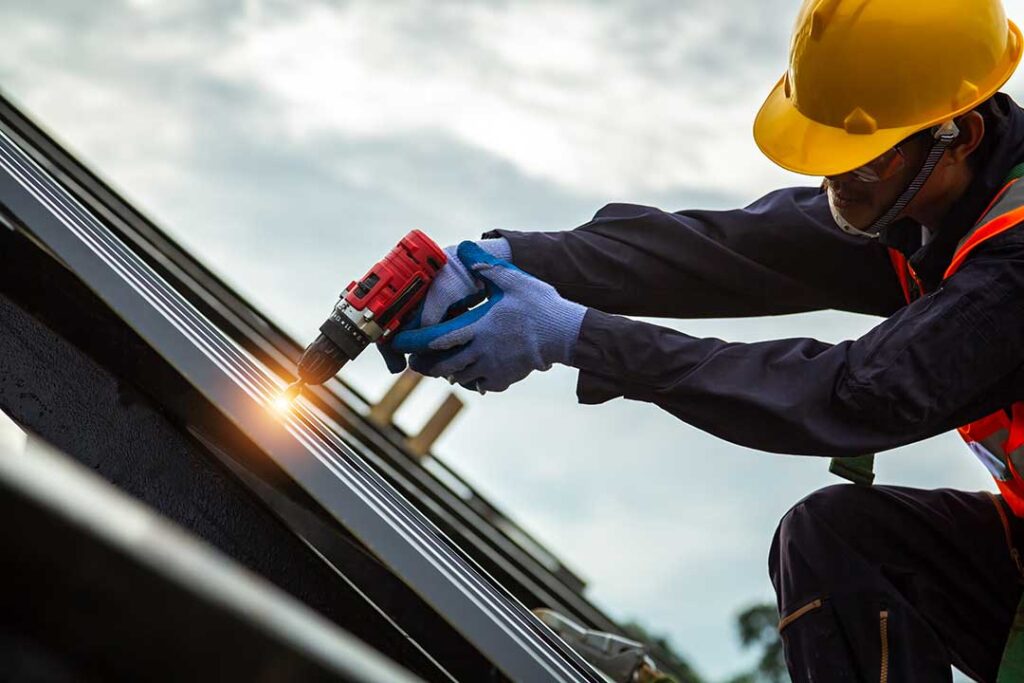
Roofing work is a sequence of inspections, planning, preparation, installation, and final checks. Understanding each stage helps homeowners recognize what should happen, what decisions matter, and which conditions may affect the schedule or final result.
What starts the roofing process?
The process usually begins with an evaluation of the existing roof, not with the immediate removal of shingles. A proper assessment looks at the roof covering, flashing, gutters, ventilation, decking, attic conditions, and signs of water entry.
A roof may appear acceptable from the ground while still having problems around chimneys, plumbing penetrations, valleys, skylights, or roof edges. Indoors, warning signs can include:
- Water stains on ceilings or upper walls
- Damp insulation or musty attic odors
- Peeling paint near the top floor
- Daylight visible through the roof decking
- Sagging areas or soft spots
- Granules collecting in gutters or downspouts
In Greene, NY, seasonal changes can put repeated stress on roofing materials. Snow, ice, wind, freeze-thaw cycles, spring rain, and summer heat can all expose weak areas. A roof evaluation should therefore consider both visible damage and the age and condition of the entire system.
How is it decided whether to repair or replace a roof?
The decision depends on the extent of the damage, the age of the materials, the condition of the underlying structure, and how long the repair is expected to remain reliable.
A repair may be reasonable when damage is limited to a small number of shingles, a localized flashing problem, or a clearly identified leak with sound surrounding materials. Replacement becomes more likely when damage is widespread, the roof has multiple leaking areas, shingles are brittle or curling, or the decking and underlayment have deteriorated.
A roof does not always need replacement simply because it has reached a certain age. However, age becomes more significant when combined with repeated repairs, loss of protective granules, exposed fasteners, sagging, or poor attic ventilation.
A patch can stop an immediate leak without correcting the larger cause. For example, replacing a few shingles will not solve a ventilation problem, failing flashing system, or deteriorated roof deck.
What preparation happens before installation?
Before materials are installed, the work area must be planned and protected. This may include identifying vulnerable landscaping, outdoor equipment, windows, siding, walkways, and areas where falling debris could cause damage.
The existing roof covering is commonly removed in sections so the decking can be examined. The deck is the structural surface beneath the shingles or other roof covering. It must be reasonably solid and dry before new materials are installed.
If damaged decking is found, it may need to be replaced. This is not merely a cosmetic step. Weak or deteriorated decking can affect fastener holding power, create uneven surfaces, and allow moisture problems to continue.
Preparation may also include:
- Confirming material quantities and delivery access
- Protecting walls, windows, plants, and paved surfaces
- Planning debris removal
- Reviewing ventilation and insulation conditions
- Checking roof edges, valleys, and penetrations
- Considering weather and overnight exposure
Weather matters particularly in a region with cold winters and variable shoulder seasons. Rain, strong wind, snow, and freezing temperatures can interrupt work or make certain installation steps unsuitable.
What layers make up a roofing system?
A roof is more than the visible shingles. It is a system of layers that work together to shed water and protect the structure.
The main components often include:
1. Roof decking: The structural surface attached to the roof framing.
2. Underlayment: A water-resistant layer placed over the decking.
3. Ice-barrier protection: Used in vulnerable areas to help reduce water intrusion caused by ice buildup.
4. Drip edge: Metal edging that helps direct water away from the roof deck and fascia.
5. Flashing: Sealed or interwoven material installed around chimneys, walls, valleys, vents, and other transitions.
6. Roof covering: Shingles, metal panels, or another exterior material.
7. Ventilation components: Openings and channels that help manage heat and moisture in the attic.
The exact assembly depends on the roof design, materials, building requirements, and existing conditions. Skipping or improperly installing hidden components can shorten the life of a roof even when the finished surface looks neat.
Why do flashing and ventilation matter so much?
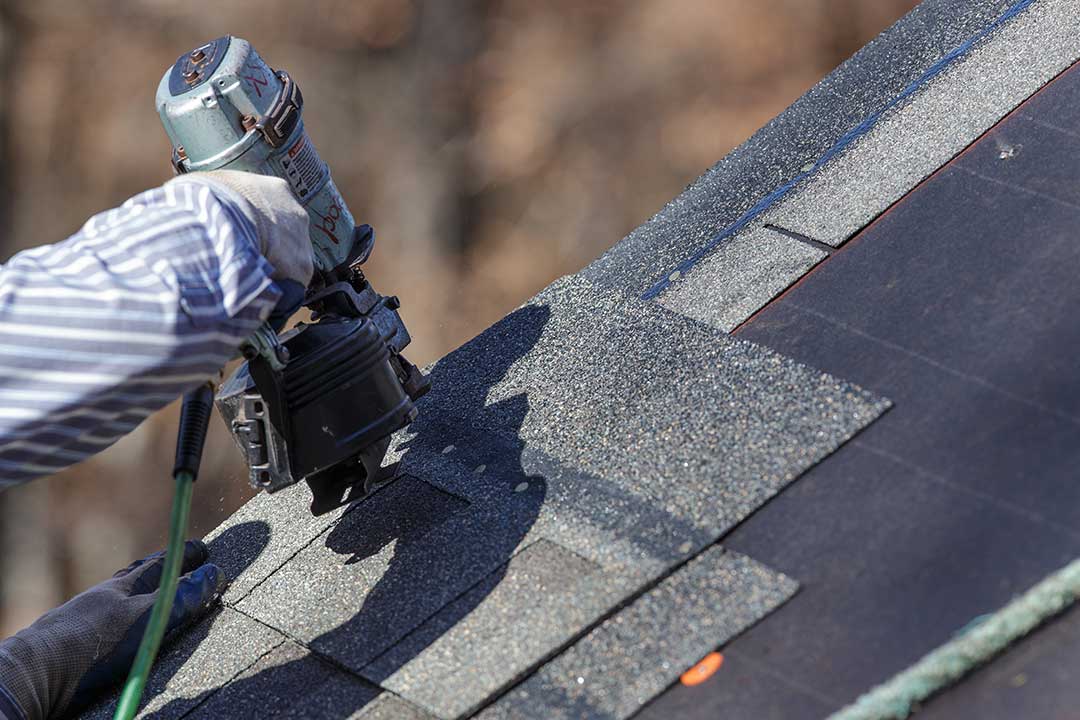
Flashing and ventilation address two different but closely related sources of roof problems: water movement and moisture buildup.
Flashing is installed where water is likely to collect or where two surfaces meet. Common locations include valleys, roof-to-wall intersections, chimneys, plumbing vents, and skylights. Poorly installed or deteriorated flashing can cause leaks that appear far from the actual entry point.
Ventilation helps move warm, moist air out of the attic and allows replacement air to enter through designed intake areas. Without balanced airflow, moisture can condense on the underside of the roof deck, insulation can become damp, and winter ice buildup may become more likely.
More vents do not automatically mean better ventilation. Intake and exhaust openings need to work as a system, and blocked soffit areas or poorly placed exhaust vents can reduce effectiveness.
How are new roofing materials installed?
Installation generally proceeds from the lower roof edges upward. Edge protection and underlayment are placed first, followed by flashing at vulnerable areas. The roof covering is then installed in overlapping courses according to the material and roof design.
Good installation depends on details such as:
- Proper alignment and exposure
- Correct fastener placement
- Secure treatment of valleys and edges
- Careful sealing around penetrations
- Appropriate handling of ridges, hips, and transitions
- Clean installation around gutters and trim
Manufacturers provide installation requirements for their materials, and building regulations may also affect the work. Applying materials in unsuitable temperatures or weather can interfere with sealing, bonding, or fastening.
What happens after the roof is installed?
A final inspection should check the roof surface, flashing, penetrations, edges, gutters, attic conditions, and surrounding property. Loose materials, exposed fasteners, damaged trim, and leftover debris should be addressed before the work area is considered complete.
Homeowners can also inspect the attic after the first significant rainfall. Look for damp insulation, new staining, wet decking, or musty odors. Not every leak appears immediately, but early observation can help identify problems before they spread.
Gutters and downspouts should remain clear so water can drain away from the roof and foundation. Branches should be kept from rubbing against the roof, and heavy moss or organic debris should not be allowed to remain in shaded, damp areas.
Which roofing decisions deserve the most attention?
The most consequential decisions usually involve the condition of the roof deck, flashing design, ventilation, material compatibility, and weather timing. Appearance matters, but the hidden layers and transitions often determine whether a roof performs well over time.
A clear written scope should explain what will be removed, what layers will be installed, how damaged decking will be handled, and how areas around vents, walls, chimneys, valleys, and gutters will be treated. It should also identify how unexpected conditions are documented before additional work proceeds.
Understanding the process makes it easier to distinguish normal project steps from warning signs. A sound roofing project is not defined only by new material on the surface; it depends on preparation, water management, structural condition, installation details, and final inspection working together.
