
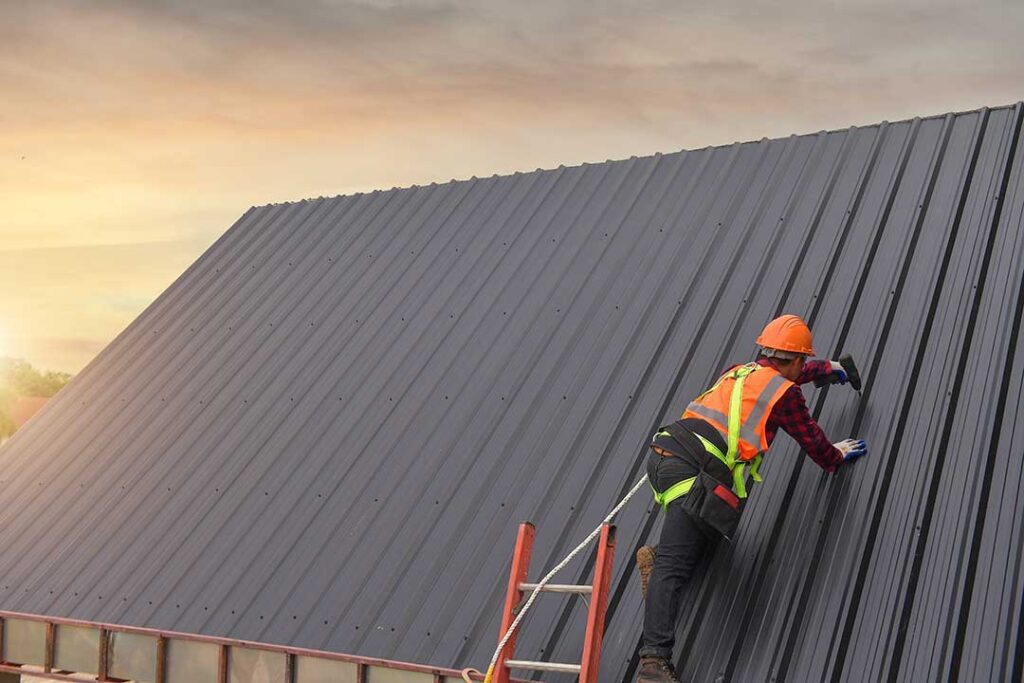
A roofing project usually follows a predictable sequence: inspection, planning, material removal, deck preparation, installation, ventilation work, cleanup, and final review. Understanding each stage helps residents recognize normal progress, ask useful questions, and identify problems before they become expensive.
What happens before roofing work begins?
The process starts with an evaluation of the existing roof and the home beneath it. A proper review considers more than visible shingles. It may include the roof deck, flashing, gutters, attic ventilation, chimneys, skylights, and areas where different roof surfaces meet.
For homes in Greene, NY, seasonal weather can make this inspection especially useful. Snow, ice, wind-driven rain, freeze-thaw cycles, and summer heat can affect roofing materials differently. A roof that appears acceptable from the ground may still have soft decking, aging flashing, or moisture damage in less visible areas.
Planning commonly includes:
- Measuring the roof and identifying its slopes
- Checking the condition of the underlying deck
- Reviewing roof penetrations such as vents and chimneys
- Identifying drainage patterns and gutter connections
- Considering ventilation and insulation conditions
- Confirming whether permits or inspections are required
- Choosing materials suited to the roof’s design and local weather exposure
The timing of the work also matters. Roofing is easier to manage during periods of moderate weather. Cold temperatures may affect how some asphalt products seal, while rain, snow, or strong wind can interrupt installation and expose the structure to moisture.
How is the old roofing removed?
Most replacement projects begin by removing the existing roofing layers in a controlled manner. Shingles, underlayment, old flashing, and damaged accessories are taken off so the roof deck can be examined directly.
Removal is not simply a matter of pulling off shingles. Workers must protect siding, windows, landscaping, decks, and exterior equipment from falling debris. The area around the home may become noisy, and small pieces of roofing material can travel farther than expected, especially in windy conditions.
Some roofs have more than one layer of shingles. Local building requirements may limit how many layers can remain, and the condition of the existing roof can determine whether removal is necessary. Installing new materials over a damaged or uneven surface can hide problems rather than solve them.
Homeowners may notice temporary coverings or exposed sections during this phase. Those conditions are normal only when the roof is protected and work is progressing. An uncovered roof should not be left exposed during threatening weather.
Why is the roof deck so important?
The roof deck is the structural surface beneath the underlayment and shingles. It is often made from plywood or oriented strand board, and it provides the base to which the roofing system is attached.
After removal, the deck should be checked for:
- Soft or spongy areas
- Water staining or rot
- Split, lifted, or missing panels
- Loose fasteners
- Uneven surfaces
- Damage around roof edges, valleys, vents, and chimneys
Replacing damaged sections is a normal part of many roofing projects. Covering weak decking can lead to fastener failure, uneven shingles, leaks, and additional deterioration.
Moisture damage may be more extensive than expected because water can travel along rafters or underlayment before appearing inside the home. This is one reason the final cost and schedule may not be fully known until the old roof is removed.
What protects the house beneath the shingles?
A roof is a system of layers, not just an outer covering. The underlayment creates a secondary moisture barrier between the roof deck and the shingles. Special water-resistant materials are often used along eaves, valleys, and other areas that receive concentrated runoff.
The roof edge also requires careful attention. Drip edge helps direct water away from the deck and into the gutter area. Without proper edge treatment, water may work back beneath the roofing material or damage the fascia.
Flashing is used wherever the roof meets another surface or where water could collect. Common locations include:
- Chimneys
- Plumbing vents
- Skylights
- Sidewalls
- Roof-to-wall intersections
- Valleys
- Dormers and similar projections
Many leaks blamed on shingles actually begin at flashing or roof transitions. A sound installation must address these details rather than focusing only on the broad field of the roof.
How are shingles or other roof coverings installed?
Installation generally proceeds from the lower roof edge upward. The first courses establish alignment, water-shedding performance, and the appearance of the finished roof. Fasteners must be placed in the correct locations and driven firmly without damaging the material.
The pattern may vary depending on the roofing material. Asphalt shingles, metal panels, wood products, and low-slope membranes each have different requirements for fastening, overlap, expansion, and weather sealing.
Roof valleys deserve special attention because they collect water and debris from two roof surfaces. Their design may involve exposed metal, overlapping materials, or a protected membrane beneath the visible covering. The correct approach depends on the roof design and the selected system.
A common misconception is that thicker or heavier roofing material automatically means better performance. Durability depends on the entire assembly, including ventilation, flashing, drainage, fastening, deck condition, and installation quality.
What role does attic ventilation play?
Ventilation helps manage heat and moisture in the attic. A balanced system typically allows air to enter near the lower roof edges and leave through higher roof areas. The exact arrangement depends on the roof shape and the home’s existing construction.
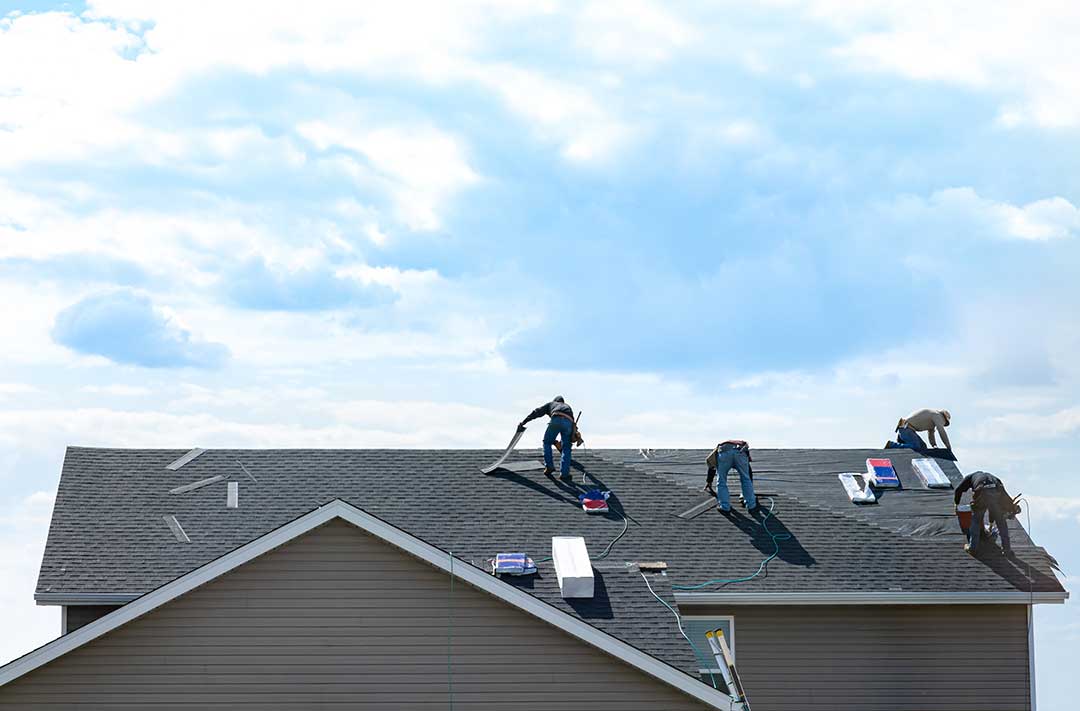
Poor ventilation can contribute to:
- Moisture accumulation
- Mold or mildew growth
- Premature aging of roofing materials
- Ice buildup along roof edges
- Higher attic temperatures
- Damage to insulation or wood framing
Ventilation does not replace insulation, air sealing, or proper flashing. It is one part of a larger moisture-management system. In colder weather, warm air escaping from the living space can contribute to ice dams if insulation and air sealing are inadequate.
What should happen during cleanup and final inspection?
Cleanup should include collection of shingle pieces, underlayment, nails, packaging, and other debris. Magnetic tools may be used around walkways and driveways, although property owners should still inspect these areas carefully after the work is complete.
A final review should look at:
- Straight and consistent shingle lines
- Secure flashing around roof penetrations
- Properly installed edge metal
- Clear gutters and downspouts
- Sealed or protected exposed fasteners
- Adequate ventilation openings
- No visible damage to siding, trim, windows, or landscaping
Afterward, it is useful to keep records of the materials used, installation date, repair areas, and any maintenance instructions. Photographs taken during the project can also help document concealed components such as replaced decking or new flashing.
How can homeowners recognize roofing problems after installation?
A new roof should not produce unexplained interior staining, persistent damp odors, loose material, or water entering the attic. Some minor granule loss from new asphalt shingles is normal, but large areas of missing material or visible exposed fasteners deserve attention.
Residents should also watch for:
- Shingles that lift, curl, or slide
- Standing water near roof edges
- Detached flashing
- Gutters filled with unusually large amounts of debris
- Daylight visible through the roof deck
- Ice buildup caused by blocked drainage or ventilation issues
Roof work is hazardous because of steep surfaces, ladders, falling materials, and unstable weather. Homeowners can safely observe progress from the ground and attic when conditions allow, but roof access and repairs may require appropriate training and fall protection.
A clear understanding of the process makes it easier to separate normal construction activity from signs of incomplete or unsafe work. The most reliable roof is the result of careful preparation, sound materials, attention to water management, and a final review of every transition and edge.
